Synthesis: Turning insights into actionWorkshops generate energy, ideas, and plenty of sticky notes. But what happens when the room empties and you're left with walls of insights and half-formed solutions? This is where synthesis becomes your most valuable skill.Marin SekesanUser Experience Lead
How We Built a Drupal-Based Content Hub for Multi-site News SharingSharing content between sites has long been a common problem. However, Drupal offers a multitude of solutions to address this issue. Michael StrelanSenior Developer
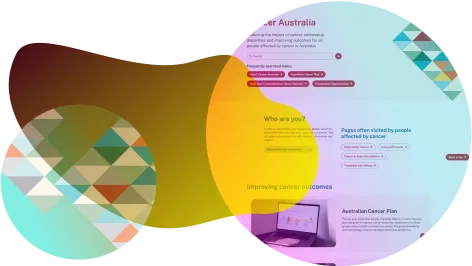
Turbo-charging Drupal with GovCMS PaaSTogether with Paper Moose, we teamed up with Cancer Australia to rebuild their consolidated website on GovCMS PaaS. This was our first live Drupal 11 website project. Learn how we built our most modern website to date with GovCMS.Adam BramleySenior Developer
Accessibility beyond WCAGAccessibility goes beyond compliance: it’s not about robots reading your site, but about people being able to use it with ease. Tina ReymannFront end Developer
Alignment workshops, what are they?A knowledge-alignment workshop is a practical way to get everyone on the same page—both about the project itself and about each other’s perspectives. Marin SekesanUser Experience Lead
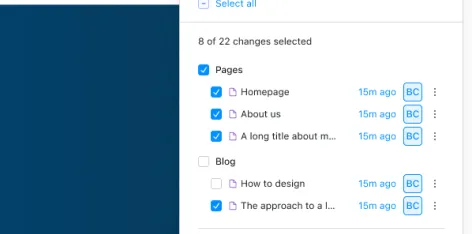
AI in Drupal: Empowering Content Editors, not replacing themUsing Drupal’s AI integrations and Skpr with AWS Bedrock, we’re on a mission to empower content editors with enhanced, data-secure editorial workflows. Daniel VezaDeveloper
Semantic Search: More than just keywordsKeyword search can miss the mark. So instead, we turned to semantic and hybrid search, built with Drupal, OpenSearch and Skpr. The results were impressive.Michael StrelanSenior Developer
AI is out to get you. Or is it?Whether you’re hesitant or confused about the role of generative AI in writing for your business, or you’re a devotee turning to ChatGPT for every line and snippet, there is a way to use AI to your advantage without compromising the quality of your content.Fiona CrowsonHead of Content
Experience Builder has pushed the boundaries of what Drupal can do. Here's how we can push it further.You've probably seen some excitement in the Drupal community around Experience Builder. The current version (0.5.0-alpha1) shows a giant leap forward in Drupal's page building and editing experience.Lee RowlandsSenior Developer