Building Maps with OpenLayers in Drupal 7
You would think by now that maps would be all sorted out in Drupal 7, you would be wrong. Maps in Drupal, or anywhere, have never really been sorted out. Maps are a complicated tangle of moving parts. Starting a new project that needs maps can be a challenge. Fortunately, there is a solution with OpenLayers.
On one of our latest projects we where expecting to use Gmap (a Drupal 6 favourite). However, with no Drupal 7 release available (beta-1 was made available in November 2012) and the Views and Solr integrations in a state of disarray we had to try out something different.
Enter OpenLayers. As expected with maps, what sounds like the small task of showing some nodes on a map with a couple of filters turned into the following stack of modules and dependencies:
- Address Field to hold address data in our content.
- Geofield to hold geographic data in our content, in this case a point.
- Geocoder converts the address data into geographic data.
- geoPHP a geocoder dependancy.
- OpenLayers
With the addition of the ever present dependancies:
Getting started
The first step was to install and enable the above modules, being sure to also install the modules included with OpenLayers:
- OpenLayers UI (openlayers_ui)
- OpenLayers Views (openlayers_views)
Content
Next we setup the content, adding the following fields:
- Address: Postal Address, Dynamic Address Form
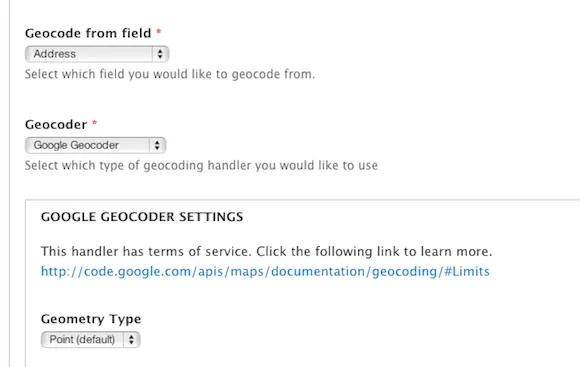
- Location: Geofield, Geocode from another field
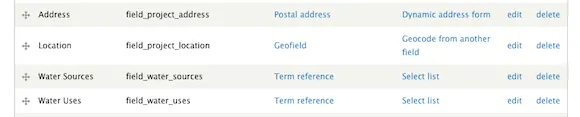
The Address field allows a content editor to provide the street address of water recycling projects. The Location field stores the map location, it is populated automatically by geocoding the Address field:
The Water Sources and Water Uses fields are taxonomy term references that are used to filter the water recycling project nodes that are included on the maps.
Creating a map
Openlayers lets you do all sorts of things, I will not go into too much detail, but the key points are:
- You need a base layer - this is the map, we picked Google Maps Normal.
- You need overlay layer(s) - this is the content, we set this up later with views.
We start by altering the OpenLayer's settings:
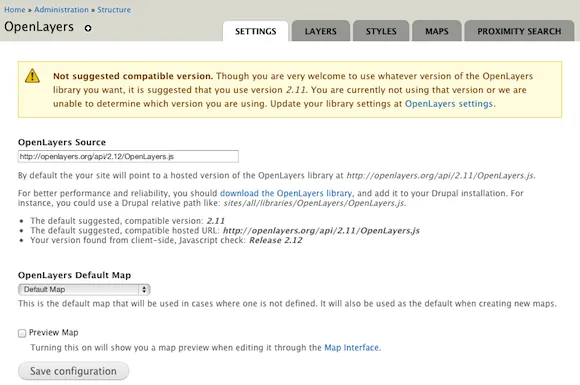
We alter the suggested OpenLayers library to version 2.12:
http://openlayers.org/api/2.12/OpenLayers.js
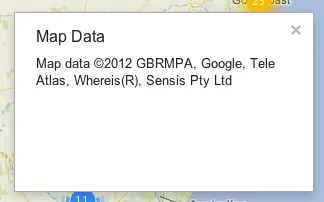
This removes a Google Copyright message. However in the administration pages you are going to see the "Not suggested compatible version" warning on every page. If you miss this step you will see the following on your Google Map, another option is to pick another base layer such as OpenStreetMap:
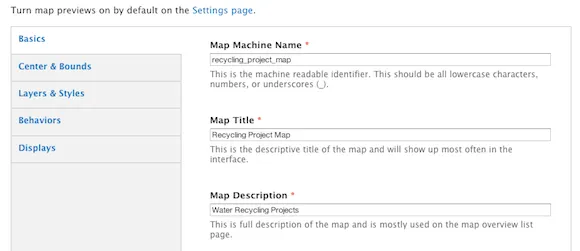
Now to create the map, click the Maps tab then Add. On the Basic horizontal tab, you need to provide the Map Machine Name, Title and Description; otherwise used the default values:
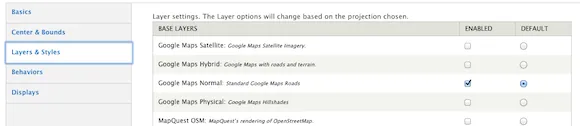
Ignore the Center & Bounds and go to the Layers & Styles horizontal tab, select the base layer you want to use, in our case Google Maps Normal:
We will return to this page later to add the overlay layer. Have a look at the Behaviors horizontal tab once you have a map working, it provides integration with some of the Openlayers library of functions. The Displays horizontal tab provides some help for our next step.
Creating a map view
Once we had defined the map we created a view that will filter and display the content on a page, The view needs two parts:
- Openlayers Data Overlay - the content to display
- Page or Block - the map to be displayed
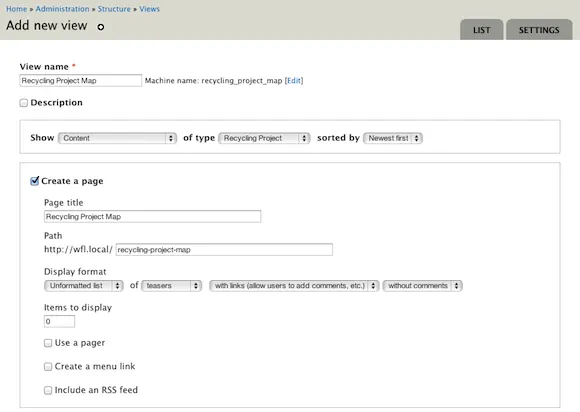
On the Administration » Structure » Views page we created a new view, we filtered the content to a Water Recycling Project. This is the content type that contains the locations:
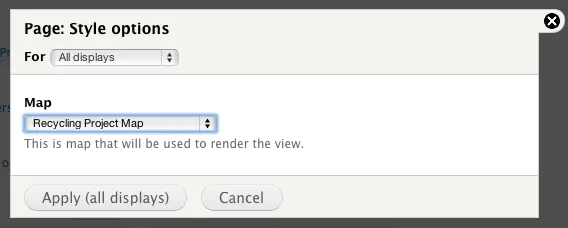
Editting the view we changed the Format to Openlayers Map, selecting the map we created earlier, Recycling Project Map.
Then we changed the Show to Fields and added the Location field. We added exposed filters for our Water Sources and Water Uses.
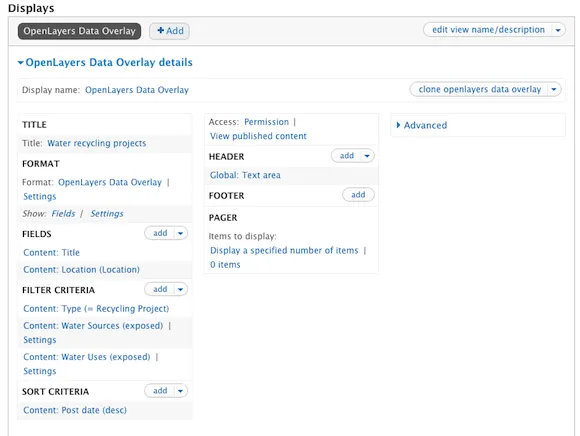
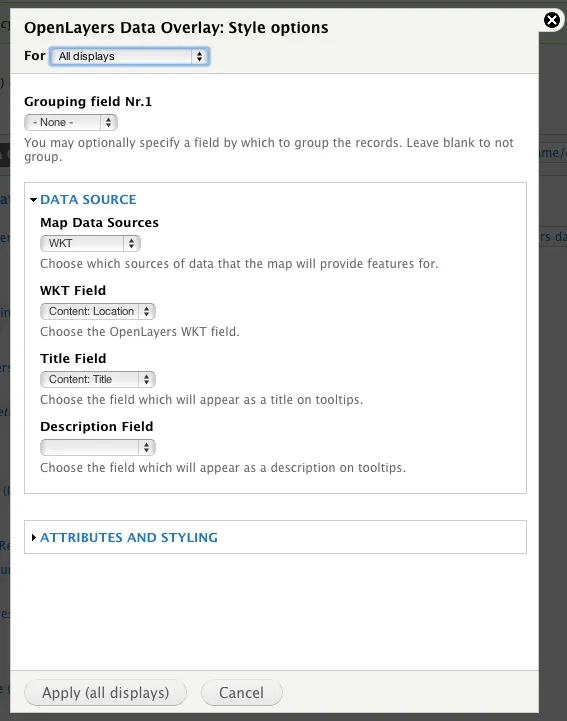
In the Format: OpenLayers Data Overlay | Settings we selected the Map Data Source of WKT, the Location field, and the Title:
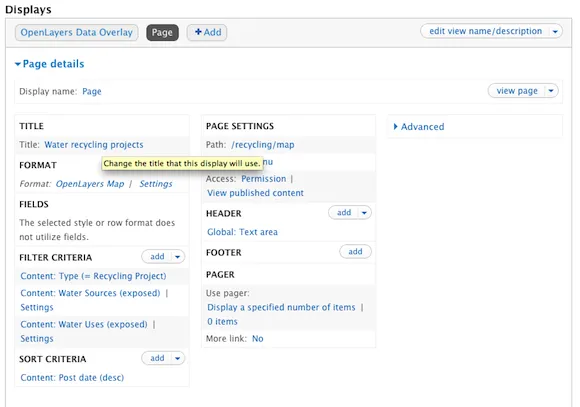
With the OpenLayers Data Overlay created we added a Page to display the map, the only change here was the page path:
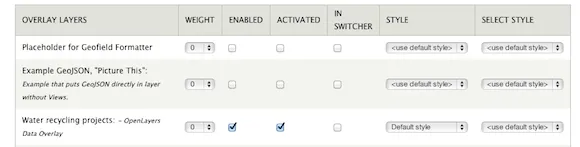
The last step was to the OpenLayers map that we defined earlier, we needed to select the data layer.
- We edited our map from the Administration » Structure » OpenLayers » Maps page
- Selected the Layers & Styles horizontal tab and scrolled to the bottom
- Enabled and activated our new overlay layer
When OpenLayers is used with Features you may not see the map edit link, click the export link and then the Edit map tab.
At this point we had a page available containing the basic map, with a bit more work adding styling and behaviours we got to:
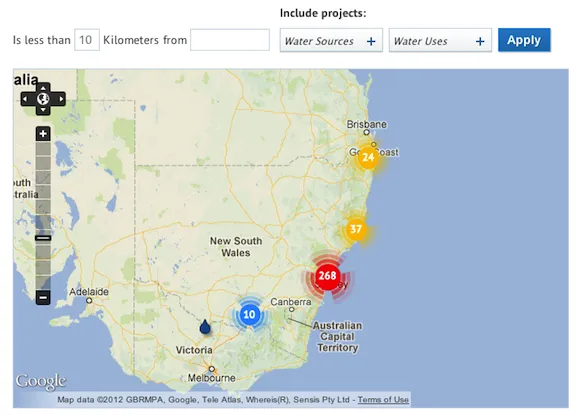
Extra Details
As you can see from our map you can add a lot more details, styling and behaviours:
- We had initially planned to use the location search abilities of Search API and Apache Solr however we ended up using OpenLayers Proximity for distance filtering.
- We started with the build in OpenLayers behaviours for clustering, markers, zoom, and popup. We quickly hit the limit of what worked and could be themed and wrote a custom OpenLayers Behaviour, the clustering part can be found in a Sandbox project.